Sweet Potato Growing Tips
We want you to have a bountiful sweet potato harvest each year you purchase plants from Steele Plant Company. As such, we've outlined our best sweet potato growing tips to increase your likelihood of success.
Below we explain what to do with your plants once you receive them, how to prepare your soil, plant spacing, weeding, when to harvest, and how to store your sweet potatoes after harvesting.
1. Receiving Your Sweet Potato Plants
Your sweet potato plants may appear wilted or yellow due to their enclosure during shipping. Don't be alarmed. This is normal and the plants will recover.
As soon as you receive your shipment of sweet potato plants, remove the paper and moss around each plant bundle and loosen the bundle to separate the individual plants a bit.
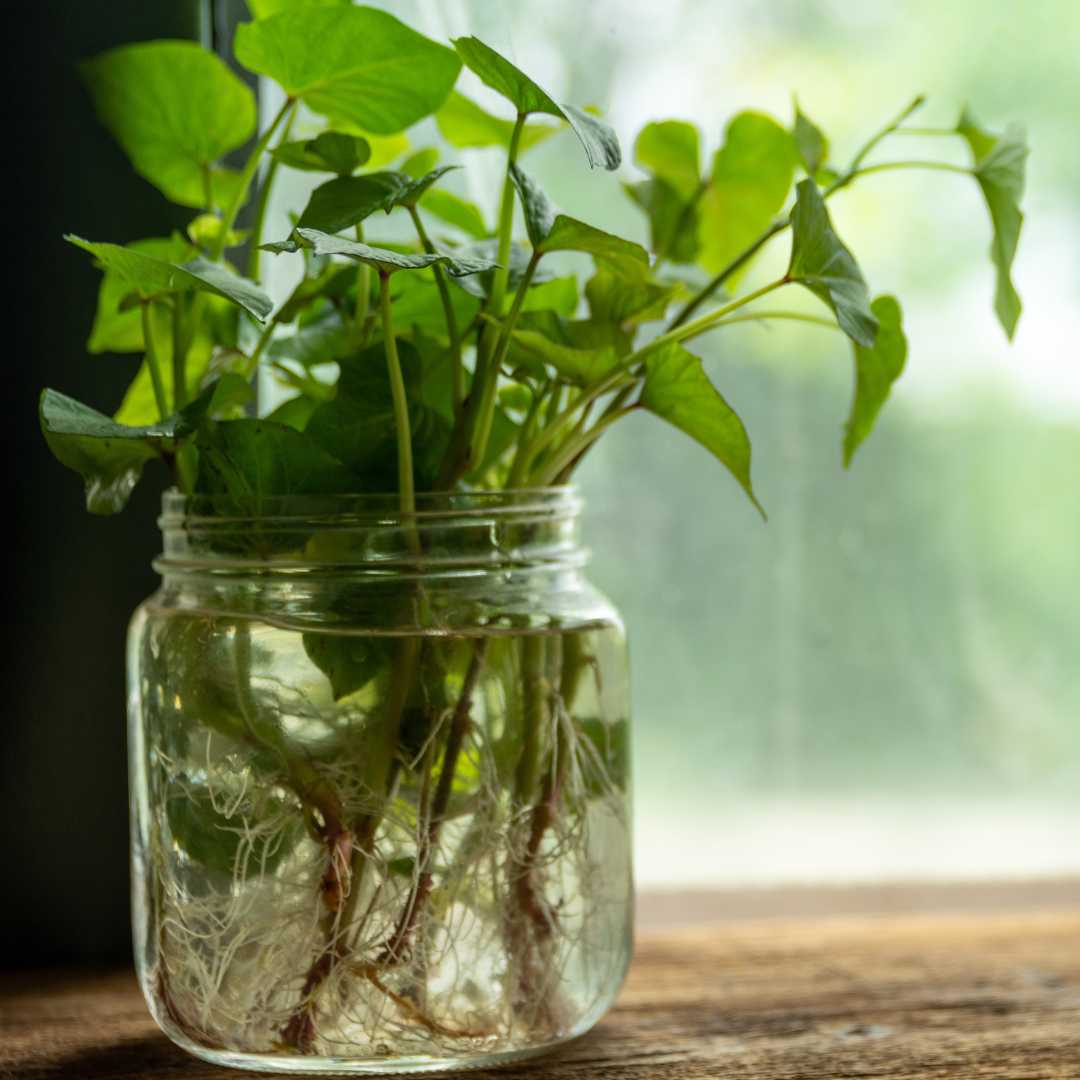
Place the sweet potato plants in a jar and add just enough water to cover the root tips. Let the root tips sit in water for several days until the leaves become green again and are no longer wilted. Replace the water in the jar(s) daily for best results.
Once your plants look like the ones in the photo, they're ready to plant. If your garden is not quite ready, they'll be fine in the jar for a week or more as long as you frequently replace the water.
2. Preparing Your Soil for Planting
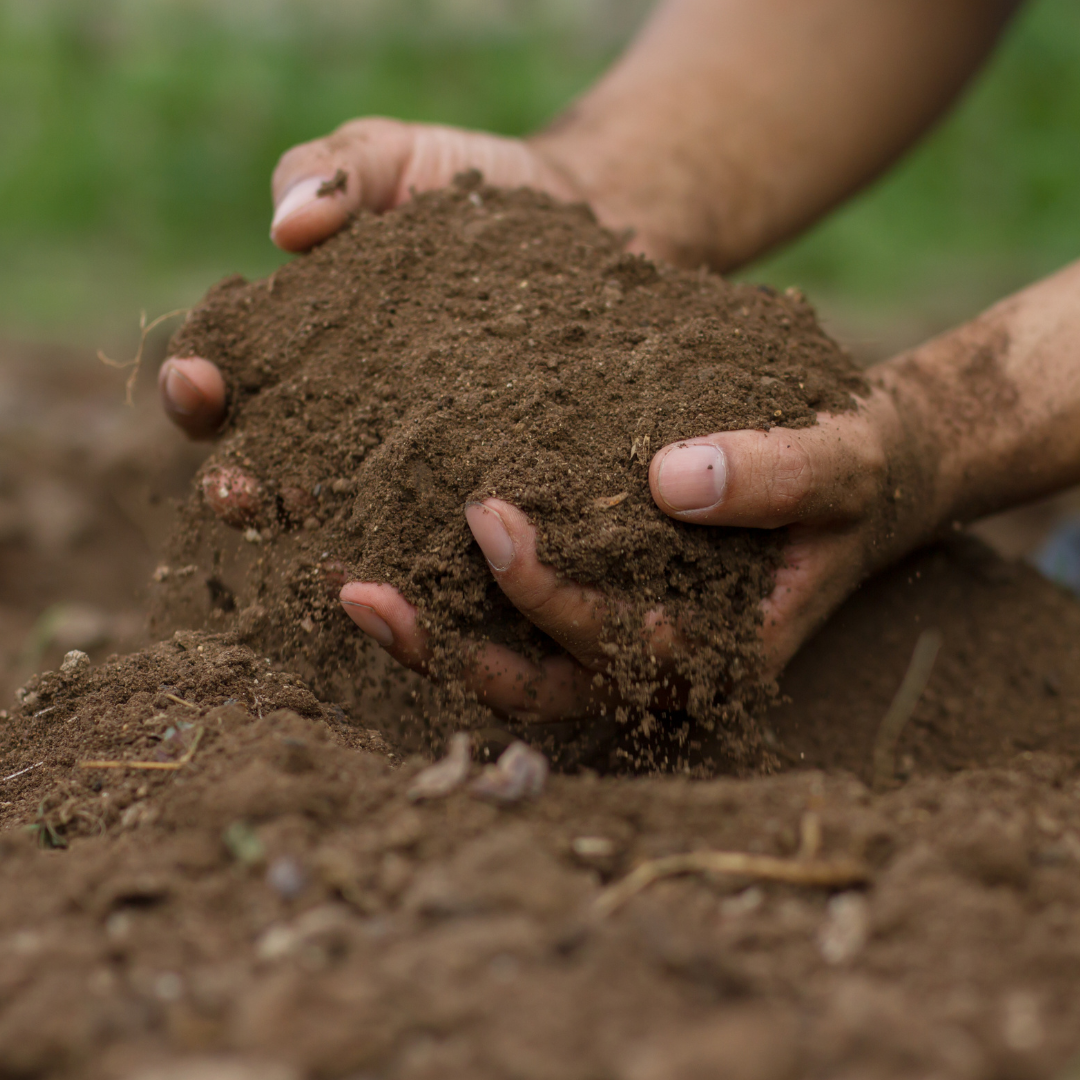
Sweet potatoes will grow best in loose, well-drained soil. This type of soil allows the sweet potatoes to properly enlarge without being misshapen.
While sandy loam soil is ideal for growing sweet potatoes, we have customers in all 50 states that grow sweet potatoes in a wide variety of soil types. If your soil is hard and crusts easily, consider adding ample amounts of compost to provide aeration and drainage for your sweet potato plants.
Sweet potatoes prefer a soil pH between 5.5 and 6.5. We recommend testing your soil prior to planting so you can make the necessary adjustments to get your soil pH within this window.
3. Planting Your Sweet Potato Plants
Once your sweet potato plants have recovered in their jar(s) of water, they're ready to plant. We recommend a row spacing of 36-48" and a plant spacing of 10-18." Some varieties will benefit from a wider plant spacing, which is explained on each of our variety product pages.
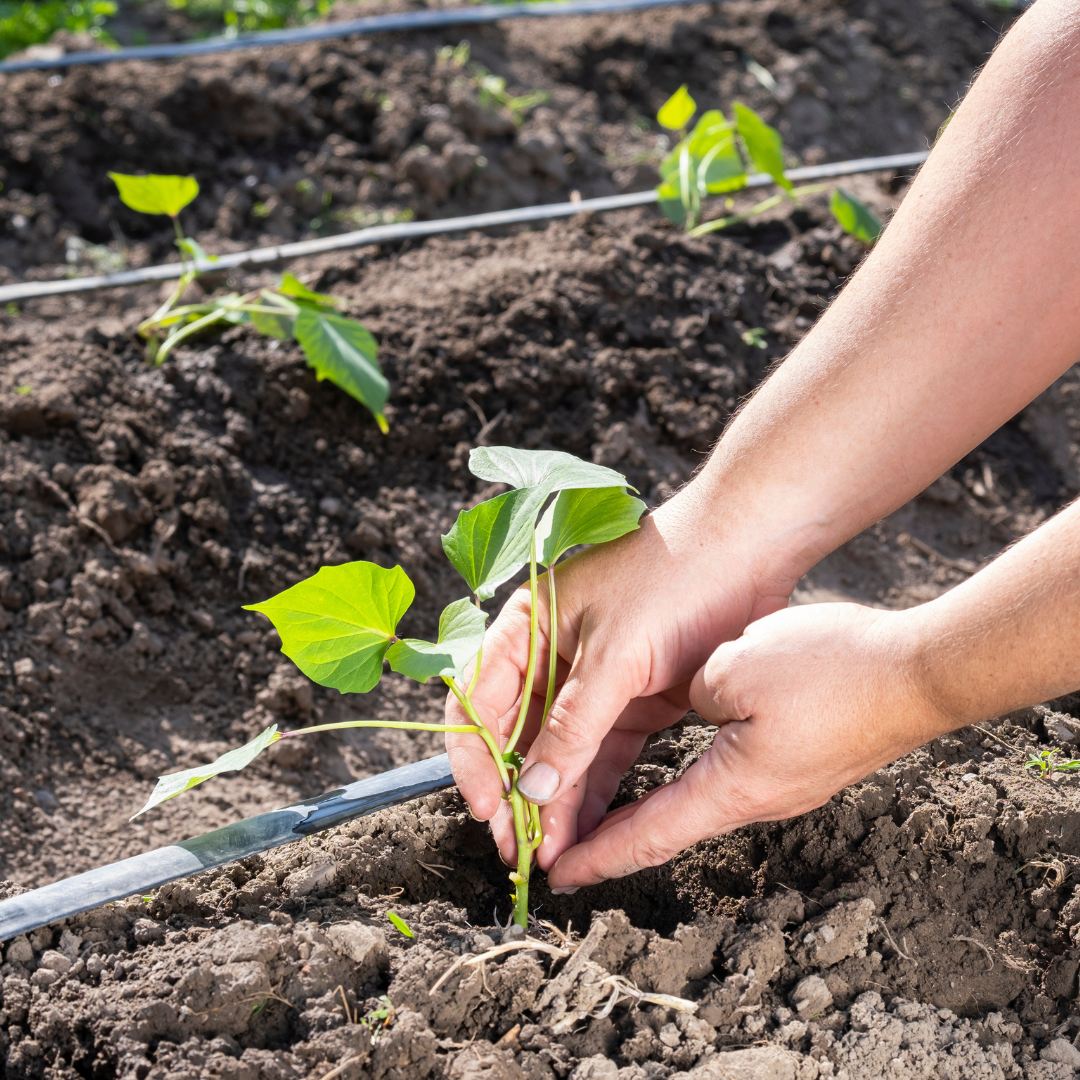
Plant in the late afternoon if possible. Planting in the middle of the day or during high winds can stress the plants. A cloudy afternoon with minimal wind is best.
Simply poke the sweet potato plants into the ground with your hands or a stick. Press the soil around the base of the plant so that the leaves remain upright. Add water around each plant immediately after planting.
4. Cultivation and Weeding
As your sweet potato plants grow, it's a good idea to "hill" or mound soil around the plants. This will suppress weeds along the row and also improve your harvest.
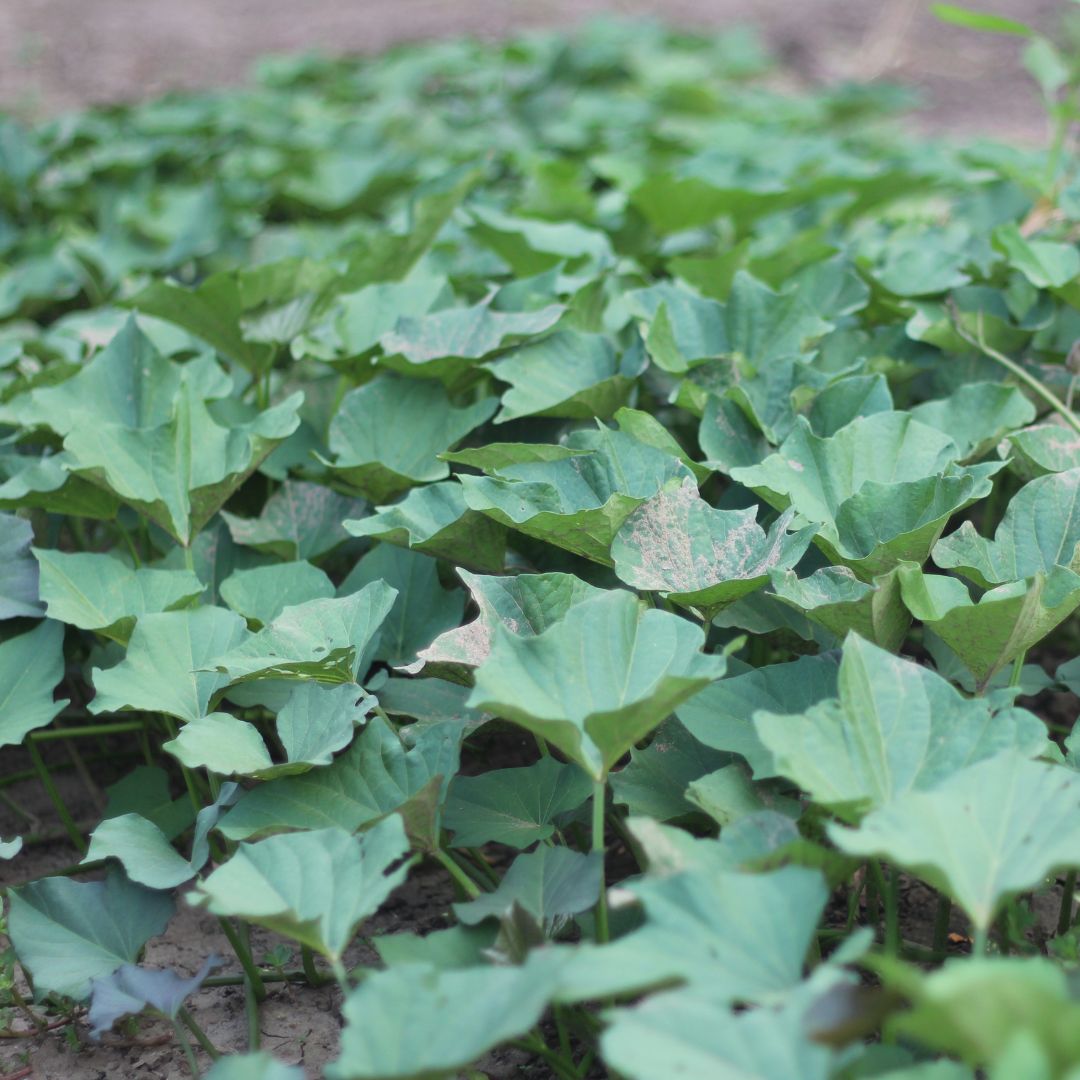
Sweet potatoes plants are relatively maintenance-free once they start vining. The vines will grow vigorously and form a dense mat over your garden soil. As a result, weeds are usually not a big issue with sweet potatoes.
Within the first month after planting, you will want to manage the weeds around the plants. You can pull the weeds by hand or carefully remove them with a garden hoe. This is especially the case if you have an in-ground garden with a grass border.
Once the vines start to cover the ground, any new weed development will be suppressed. Don't trim the vines as this will lower your eventual yield.
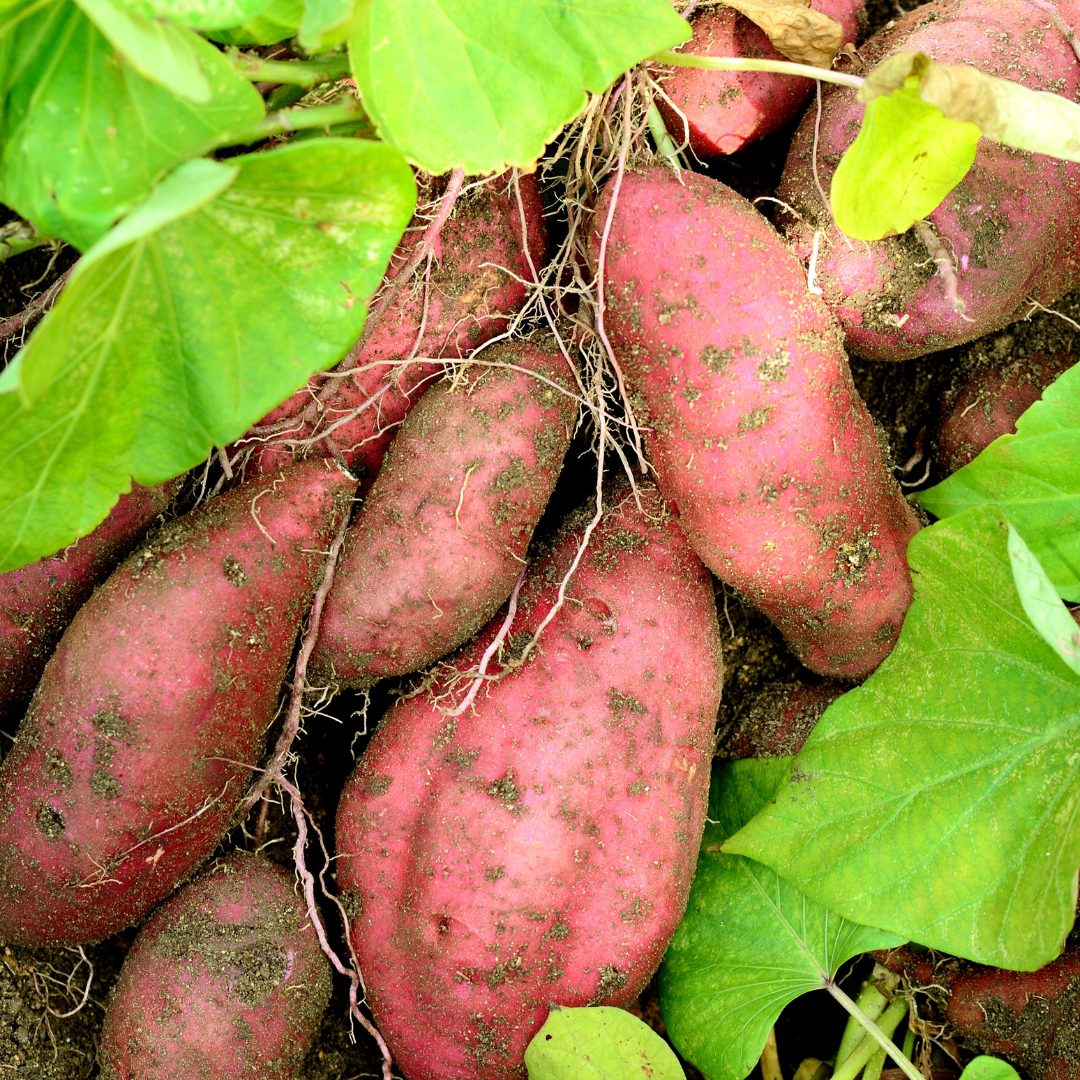
5. When to Harvest Sweet Potatoes
KEEP TRACK OF THE DATE WHEN YOU PUT YOUR PLANTS IN THE GROUND. Then use the listed maturity dates on each of our product pages to determine when you should harvest.
When your sweet potato plants start to approach their maturity date, scratch around the base of a couple plants to check the size of your sweet potatoes. If they're not as big as you'd like, you can leave them in the ground so they'll continue to grow. If you leave them in the ground too long, they can get too large and start to crack.
If you have softer soils, you can pull back the soil with your hands and harvest the sweet potatoes. Use a digging fork for harvesting in harder soils. Most of the sweet potatoes will be directly beneath the plants you planted.
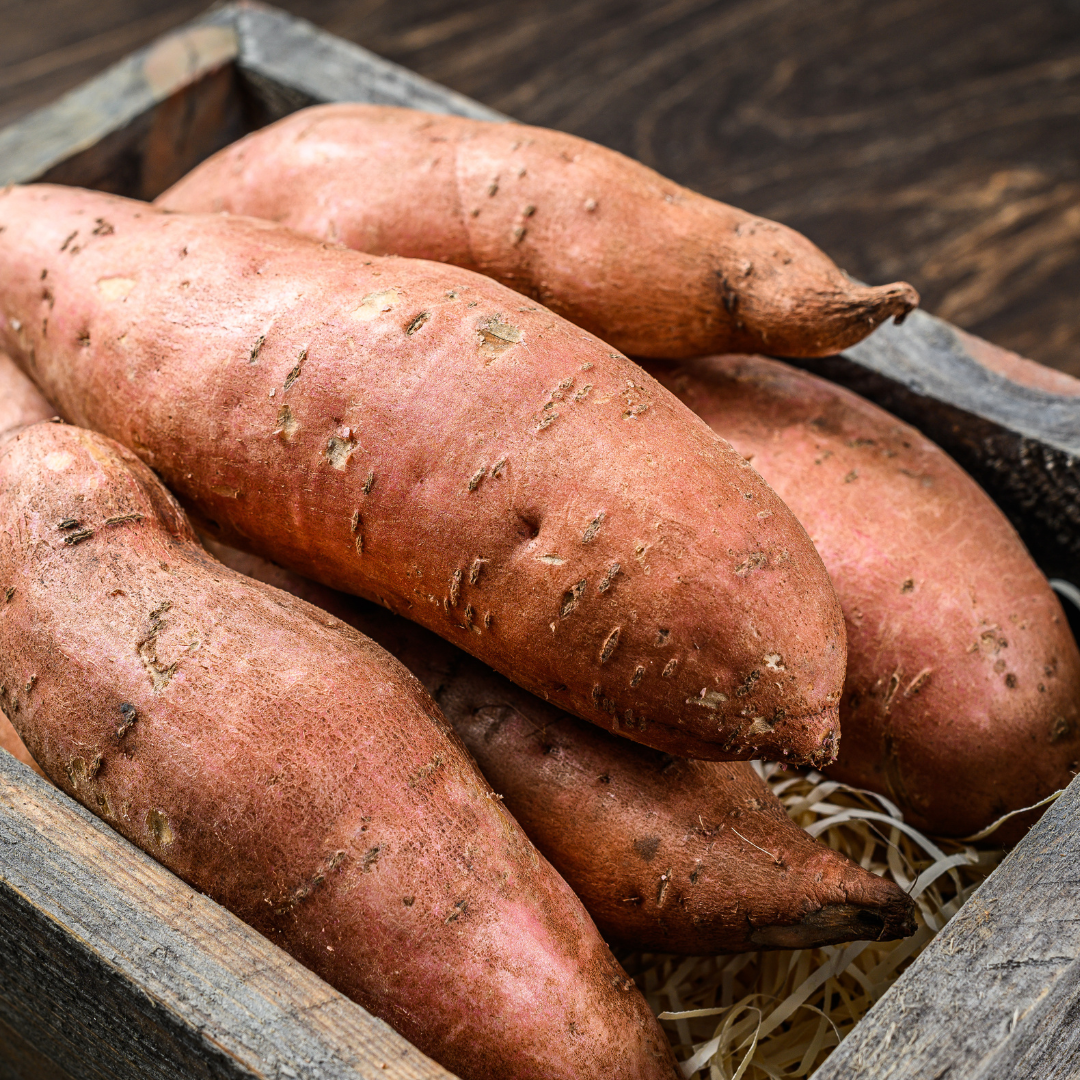
6. How to Store Sweet Potatoes
Once harvested, your sweet potatoes will need time to "cure" before eating them. This process improves the eating quality of the sweet potatoes and helps them store longer. DO NOT WASH YOUR SWEET POTATOES UNTIL YOU'RE READY TO EAT THEM.
To cure sweet potatoes, place them in a relative warm (85°F) and humid area for 4-7 days. Placing them under a barn or shed works well as long as they can't get wet.
After 4-7 days, store your sweet potatoes in a dry location that stays between 50-60°F. When kept at these temperatures, your sweet potatoes will usually store for 4-6 months.